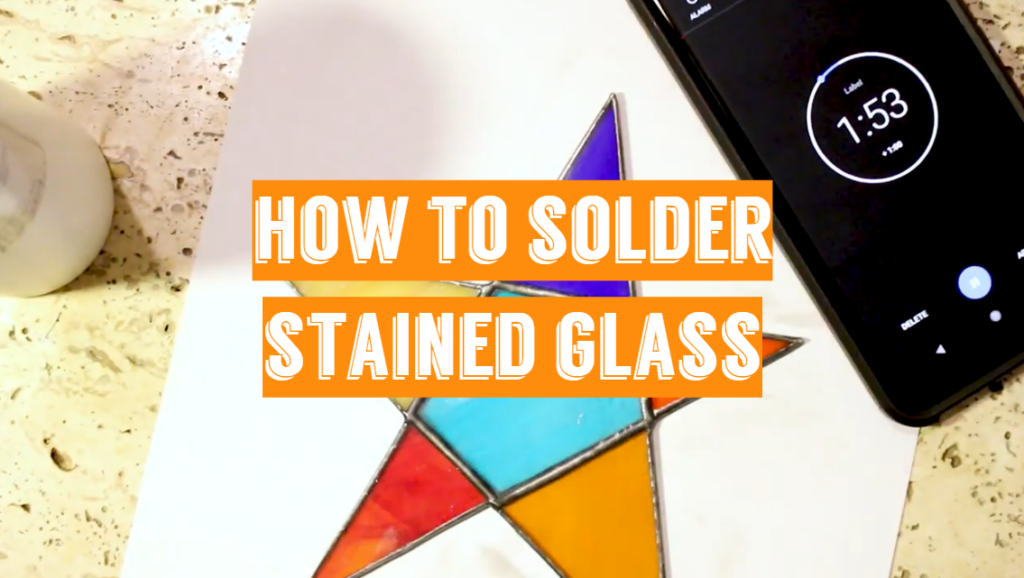
The idea to create a stained glass window seems fascinating, but at the same time, lots of questions come to mind. Study all the details of each stage carefully and prepare the necessary tools for soldering. Following the tips, you will be able to create a truly unique atmosphere with the enchanting spirit of the Middle Ages in the interior of your room.
The art of manufacturing of stained glass windows was developed back in the 10th century. Since that time a lot of new approaches have been introduced in the technology of glass production, new methods of joining glass elements have appeared for example Tiffany, fusing, and others. However, the classical technique is still popular.
In the process of soldering all the glass elements of the composition stick to each other with a soldering bolster, running along every seam. All the pieces are previously wrapped in copper foil. This method is rather difficult for inexperienced artisans, but it’s definitely worth it.
Pre-soldering phase – prepare thoroughly
The first and major tools and materials include solder, flux, and iron with a stand. Additionally, you can require a brush for the flux application, a wet sponge, the sketch, pins (for more complicated compositions), some masking tape.
Note! Always work with fume extractors or soldering irons for stained glass in a place with good ventilation.
What do you need for soldering stained glass?
You can start with creating a sketch for your stained glass composition, and print it in full size. The individual parts are cut out and serve as a template for cutting real glass elements. To fasten the parts to each other you can use a pure lead or lead-tin solder.
For soldering your stained glass picture you need a special assembly table, a soldering iron, a lead cutting knife, a hammer, pliers, rosin, solder, as well as materials for subsequent processing (cleaning solution, putty, patina, varnish, etc.). For soldering stained glass compositions lead wire with a core thickness of 5 to 12 mm is used, the choice depends on the size of the parts that it will hold. With a sharp knife, the wire is divided into pieces of the required size (a dull blade of the knife can lead to flattening of the wire, so be attentive).
Locating glass pieces
Put your full-sized pattern on a table or a board and fix it. Locate the foiled pieces of future stained glass composition on top accurately and make sure that all the lines and shapes coincide. You can use a tape to fix the elements in several key spots, or some pins will help if you work on the board.
Tack soldering
All the parts, wrapped in the foil, are treated with cleaning fluid and the soldering process begins. As a rule, it is better to start soldering from the inner corner of the stained glass composition. It is a very responsible process. Excessive exposure to the soldering iron can lead to cracks in the glass or melting of the foil. Too short heating will not give the desired adhesion.
Some preliminary fixation must be done before soldering the whole item. Place the glass elements to form the picture and stick them applying tiny solder blobs to prevent any movement. This process is a so-called tack soldering.
A special iron for soldering stained glass (80 Watts minimum) must be used to tack the composition together. Before that take a brush and treat major joints with some liquid flux, go on with melted tiny solder blobs for every joint. When done, you are ready to take off the masking tape.
Soldering phase – follow simple steps
Dealing with the seams
Soldering the seams isn’t as simple as it seems. Practice makes perfect. That’s exactly about this part of the work. Only with practice you will receive smooth and straight seams, learn how much solder to apply, and control the speed of your movement along seams depending on the temperature of the iron.
Always keep in mind the following rules to reach your goal:
- The balance between time and heat leads to high-quality soldering results. The hotter your iron is, the faster you should move. And vice versa to move more slowly concentrating on work, use lower temperatures. Try to find your own comfortable tempo for preferable outcomes.
- Clean the iron tip after each application, wipe it with a wet sponge.
- Check if there is enough quantity of flux for melting solder, if not, add some more.
How to solder the edges?
If you are planning to frame your work then stop several millimeters before the edge. If not, continue making seams just to the end. With a brush remove flux from the seams as it can evaporate.
Don’t apply a lot of flux, it can cause bubbles and holes on the surface. Holding both the heated iron and the solder in your hands, make continuous simultaneous movements to form smooth and steady seams. It’s better to keep your solder a bit higher than the tip of the iron for convenience and to exclude accidental sticking to the foil.
When the solder melts it flows to the foil. You must heat the foil with the iron tip as well to secure the joint. Keep an eye on the amount of solder, you are applying and control if it covers the foil and fills up all the needed space between the elements without gaps. This will guarantee strong and reliable construction of the whole piece of work.
To cease soldering you can take the iron tip to the side with a fast movement, but don’t leave it on the glass surface for too long. The second option is to lift the solder from the seam.
When you come across a joint just keep moving.
You must leave hot solder tails about one centimeter long in all directions at the place of the joint. Later you will have to return to them and continue each seam from that spot. It looks more elegant and careful if you resume soldering on the seam, not on the joint. Try to make your solder a bit rounded, not flat.
The technique for neat soldering
It happens that you try hard but the result is dissatisfactory. To solve this problem use the next secret approach. It’s a so-called hold and uplift technique.
Don’t move the iron along the problematic seam, just fix the tip above the required area for several seconds and let the heat do the job. Lift it up and you’ll see a magical neat and even seam. Remember to put flux onto the spot and wipe off the tip with a wet sponge before the procedure to enjoy smooth and neat soldered seams.
Reverse side soldering
The first half is done, so turn over your piece and perform all the previous steps again with the reverse side. You can notice some solder leaks on the table. No problem, apply a bit less solder onto these spots. If you want to return to any sections, you must wait for them to cool down, then clean and apply flux again. If not, you risk having other leaks and spoiling the front side of the composition.
After the main job is completed, the profile is treated with a liquid that neutralizes the soldering acid and removes the flux. The seams between the elements are sealed with putty. The next step is a final cleaning of the seams and the glass itself. In some cases, the seams of the stained glass are covered with a patina, after which they are again treated with antioxidants for additional protection.
Post-soldering tips
Troubleshooting tips for soldering stained glass
Oops! Something went wrong and your solder disappeared. It can occur in case your elements don’t suit perfectly and there are some gaps between them. The reason is the bad quality cutting of the elements.
The leaked solder is not a problem when you work on the front side. You can correct everything working on the reverse. Try putting small beads of solder and wait for them to form even and strong seam.
How to get rid of excess solder on the reverse side?
After the completion of soldering the backside of the piece, some troubles can arise with the other one. If some solder leaked to the front and spoiled the neat lines, take off excess solder with the iron. Working fast, drag an extra bead of solder across the seam with an iron tip. You can put it aside onto the plate and reuse it later. The above-mentioned hold and uplift technique will help to correct the section and make it look neat and smooth.
Achieving smooth soldering
When your flux fails to work and the solder to melt, check the following causes and deal with them if you face any.
- The flux vanished. It can dry up or drain away, so you must reflux the area one more time.
- Some soldering irons don’t maintain the temperature. At some moments it is colder than needed, so wait a bit and it will heat up again. If there is a dial controller on your model of the iron, you can switch it to a higher temperature to check its work.
- Quite often the tip of your iron becomes covered with the solder and flux residuals. To cope with the issue you just have to wipe the tip with a wet sponge. You also can notice some black stains on the tip, which are hard to clean. Use a special tip cleaner to make it shiny, clean, and restored.
Removing solder from the glass surfaces
Those, who worry because of some drops of solder on the glassy surface, don’t do that! The glass won’t crack and there is a way-out. Take the flux off the seam and the solder with a brush. Hold the hot iron on the seam and pick up the drops from the grass. Now you must be fast to prevent breaks and cracks, though they happen rarely.
After having soldered the two sides, you can choose a zinc frame for your composition. If not, just continue and solder all the edges. To shape the stained-glass piece of art, you must use a specific frame. It increases the reliability of the structure and facilitates subsequent installation. Classic stained-glass compositions decorate various pieces of the interior: doors, ceilings, windows, partitions, niches, and panels.
Conclusion
At first sight, the technology of soldering stained-glass compositions is not difficult, but without knowing a lot of nuances, making a high-grade stained glass is impossible. Proper attention to some peculiarities, such as the effect of temperature on glass, the development of a stained glass sketch, the tightness of the seams, and suitable materials and tools, can help you cope with the project.


