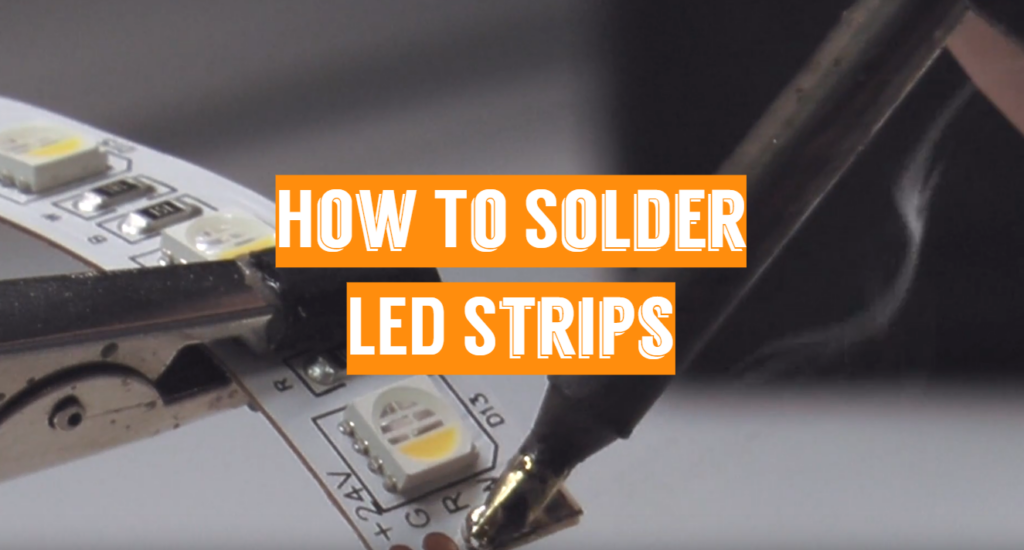
Soldering LED Strips Guide
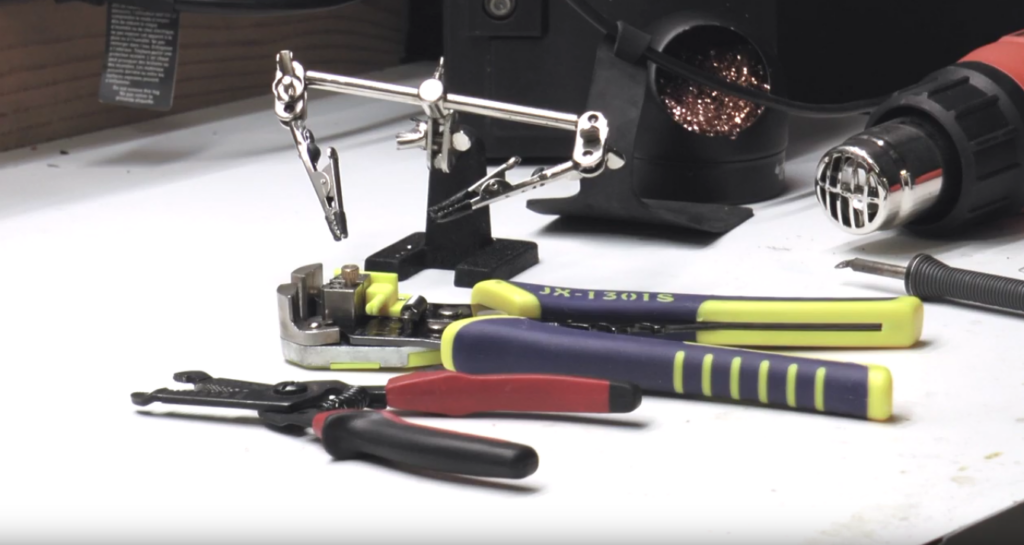
First, you need to go ahead and strip off about one-eighth of an inch of the insulation on the wire. Traditional wire strippers work great for two-conductor wire, but when you start getting into RGB and RGBW LEDs, a multi-conductor wire stripper will make the job go faster, but also keep your wires looking neat.
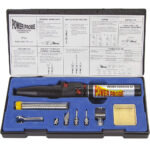 The Power Probe Butane Iron is bundled with a kit that multiple secondary tools for soldering. All parts of the iron itself are very durable.
So after stripping back the jacket on the wire, you need to go ahead and tin the leads. So you’ll want to apply heat to the wire itself and then melt the solder into the wire.
LED Strip Soldering Temperature
Set the soldering iron to about 280C if you have a soldering iron with temperature control.
Be sure to use flux on the wire tips and pads, see more info below.
if your LED lights are plugged into a battery pack, unplug it before starting.
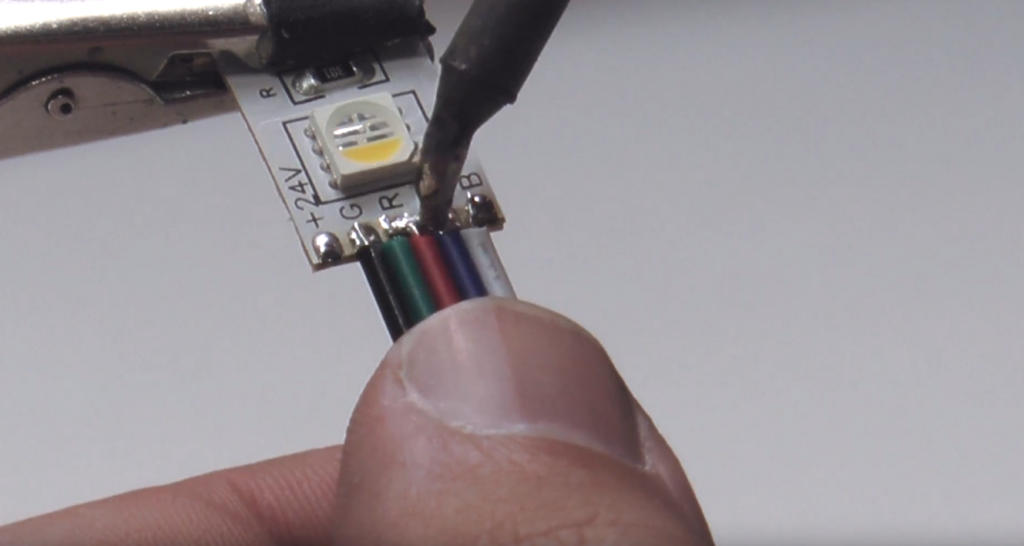
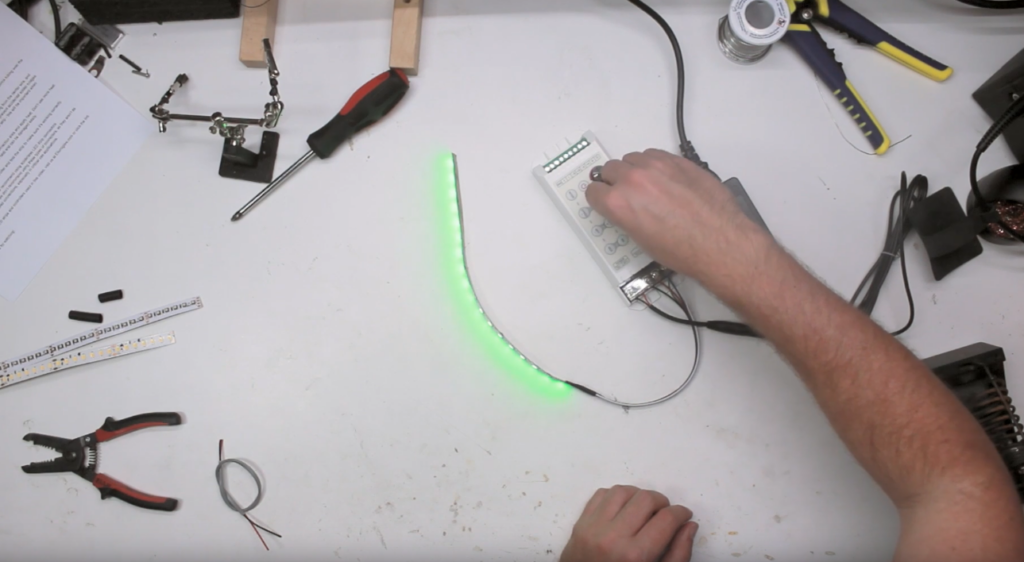
Next, you’re going to go ahead and tin the solder pads on the LED strip. So at this point, you are now ready to solder the wires to the LED strip. But before you do that, make sure to slide your heat shrink tubing over the wire. If you start from the center out, it’s easier to manage what you’re doing.
When you’re soldering the wires to your LED strip, make sure to take note of which colors are soldered to each pad on the strip. This will be important later when you’re connecting the wires to your LED controller.
So at this point, go ahead and slide your heat shrink tubing over the connection area and apply heat.
When you’re applying heat to the heat shrink, don’t use more heat than necessary. Electrical tape could work too by wrapping it around the exposed area.
Excess heat can damage the diodes on the LED strips. Finally, wire up your LED strip to your controller to test it.
Testing
Next, go ahead and plug in your power adapter. Look like it’s working. Frequently, customers will ask us if we recommend using solderless LED connectors.
Now, while they are convenient, we don’t recommend them as they’re not as reliable as traditional soldering, especially in critical use applications.
They tend to come lose over time and will not make contact.
If the Solder Won’t Stick to the LED Strip
You may need to use some solder flux if the solder is not sticking to the LED strip pads or wires.
Check out our article on usage for recommended flux types. You would only need a small amount of flux on the area you want the solder to stick to.
How to Solder Waterproof LED Strips
Waterproof LED strips soldering would be the same as normal LED Strips except you would need to cut or peel off the waterproof layer first. Once finished, you can apply clear silicone to the area you worked on.
I’ve messed around with creating my own LED strips before. Although, I’ve never been successful doing so. Hopefully, after reading this article I’ll be in a little better place to make the LED’s successful. Regardless, thanks for showing me this information.
Hello! I think, my article will help you.
Great article! I’ve never seen an article that shares exactly how to solder and LED strip. That was exactly what I was looking for, but most people online don’t share exactly how to do it. Thanks!
Hello, thanks for your comment!
Thanks for sharing the blog, Tom. It’s worthy to read and follow.
This is awesome! I want to try to solder some LED strips in my bathroom, we recently changed the color in there and I think it would look awesome!