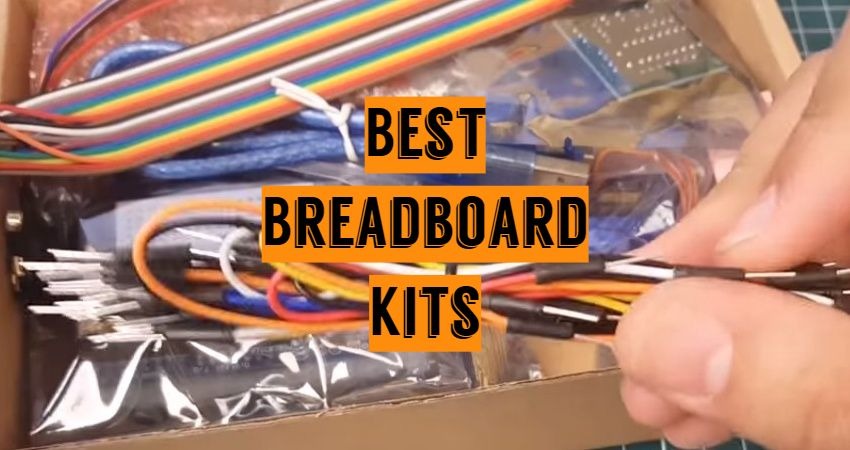

Customer’s Choice: the Best Rated Breadboard Kits
[survey_answers id=”981994035″ style=”plain” data=”score”] users answered this survey. Please help us improve this review!
[survey_answers id=”981994035″ style=”piechart” legend=”true”]
If you’re looking for the best breadboard kits, then this article is a great place to start. We have done research on some of the best breadboard kits available so that you can make an informed buying decision.
In this article, we’ll talk about what makes these breadboards different and why they are worth your consideration when it comes to electronics prototyping.
Elenco Breadboard Kit 9480WK – Editor’s Choice
It comes with a power supply, an assortment of wire and jumper wires in various colors, along 220 common electronic components that you can use to build circuits.
Of course, all this comes at a reasonable price too! For beginners and pros.
What Makes It Stand Out: This Elenco Breadboard Kit 9480WK is the Editor’s Choice for best breadboard kits. This breadboard kit comes with a power supply and 220 common electronic components that can be used to build circuits. In addition, it includes an assortment of wire and jumper wires in various colors, so you always have the right hookup when building your circuit.
If you’re looking for more than just a breadboard, then the Elenco Breadboard Kit 9480WK is perfect. In addition to giving you several ICs and an assortment of resistors, capacitors, diodes, and transistors, it also comes with a power supply that has both AC and DC voltage outputs.
Pros
- The built-in power supply comes with AC and DC voltage outputs
- 220 common electronic components included in the kit
Cons
- It’s a little more expensive than some other breadboards, but not by much. If you want to save money, then just buy breadboard parts individually.
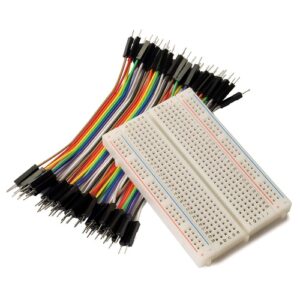
BusBoard Prototype Systems BB400 – Good Choice for Beginners
BusBoard Prototype Systems BB400 is a good choice if you plan to do any designing or prototyping. This kit includes everything from the power supply and voltage regulators, LEDs to capacitors, resistors, and diodes.
You also get circuit boards with jumper wires for added convenience, which allows you to make breadboard connections faster than ever before.
The BB400 breadboard has 400 tie points and a power supply with both AC and DC outputs. In addition to the standard type of copper-clad board, there are also two special parts in this kit: one that is made for ICs on plastic sheets and another designed specifically for LEDs. This makes it very easy to create circuits in breadboard surface areas allow you to build a circuit without worrying.
For the avid electronics hobbyist, this kit is a must-have. It has everything you need to create complicated circuits and make your projects more durable in the process. The instruction manual that comes with it even walks you through some basic experiment types so that you can get started right away without having to worry about details like which wire goes where.
Pros
- Lots of different components in one kit
- Instructions for basic experiment types are included with the manual
Cons
- No printed circuit board slots, but it’s not easy to make your own anyway, so this is really just a minor issue
- This kit includes everything you need to get started on electronics and circuits projects
Debaser Electronics Breadboard Kit – The Best for Arduino Shield Prototyping
The Debaser Electronics Breadboard Kit is an excellent choice for beginners. It has all of the components you need to start working on electronics projects, including LEDs, resistors, and capacitors.
The kit also includes an instruction manual that walks you through some basic experiment types so that you can get started right away without having to worry about details. For the more advanced user, this breadboard is also compatible with Arduino shield prototyping.
The kit is divided into two parts: the breadboard and the components. You can combine these to create circuits that use resistors, capacitors, LEDs, and more. With this kit, you’ll also get all of the electronics hardware necessary to complete any project with ease!
Pros
- Excellent for beginners and advanced users
- It comes with a detailed instruction manual to start designing circuits right away
Cons
- It can be difficult for some users who are not good at connecting wires
- The Debaser Electronics breadboard is an excellent kit that will make electronics design much easier
BusBoard Prototype System Breadboard Kit – The Best for Testing New Circuits
The BusBoard Prototype System breadboard is an excellent starter kit for beginning electronics designers and hobbyists. It comes with everything you need to create circuits that use resistors, capacitors, LEDs, and more!
You will also get all of the hardware necessary to complete any project right away with this one-stop-shop electronics design kit!
This kit comes with a detailed instruction manual to help you design circuits and an easy-to-read breadboard layout diagram that makes it really simple to connect wires, components, and more! The best part of this kit? It includes all the necessary.
Pros
- Perfect for beginners and enthusiasts who want to dive into electronics design!
- Includes just about everything you need in order to start designing circuits right away
Cons
- The wires are a little stiff, which can make them hard to work with at times
Adafruit Breadboard – The Best for Raspberry Pi
The Raspberry Pi is an amazing little computer that has allowed people to do all sorts of things, from creating their own game consoles, home security systems, and more.
Unfortunately, some folks don’t realize about the Pi, though it is just how easy it can be to interface with electronic components like resistors, capacitors, and LEDs because they are so small! Adafruit offers a great breadboard kit for electronics coders who quickly design circuits with the Raspberry Pi.
Pros
- Some users have commented that this particular model includes everything you need in order to start coding right away
- It comes with various resistors, capacitors, and LEDs
- Builds circuits for the Raspberry Pi quickly
Cons
- It may not be compatible with other models of the Raspberry Pi (depending on which one you buy)
- Resistors are not labeled by color code which can make them hard to work with at times
The Best Breadboard Kits – Buyer’s Guide
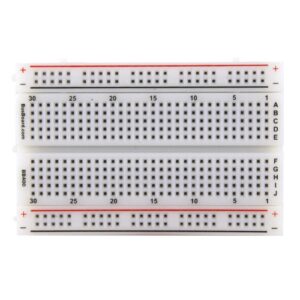
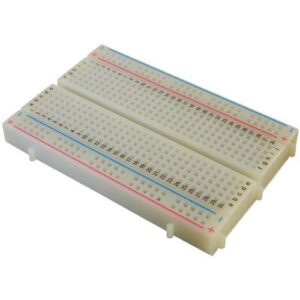
Breadboards are used to prototype circuits. If you’ve got a starter kit with your Arduino kit or Raspberry Pi, you probably have one. They come in many sizes, for the most part, the standard large size and slightly smaller size are the ones you see the most, though some of them also come with binding posts for power sources as well.
Regardless of which one you have, they mostly work in the same way.
The bigger breadboards have lines running down the long side, which are known as the power rails. This is because you can plug your microcontroller or power supply into them to provide power to the components on the inside.
Running perpendicular to these are the component lines, and these are where you place your components, this is where you can build your circuit.
Smaller breadboards work exactly the same as the larger ones though they don’t have the power rails running down each side.
By flipping over a breadboard and pulling off the backing, you can see how they work. These pieces of metal run along with the board and connect all of the components together that you need. If you were to pull out one of the metal lines on your breadboard, this is what it would look like.
They are all small metal crimps that are designed to grab the legs of the components. This is why they’re so useful. It means you can make circuits without having to rely on learning how to solder or using a soldering iron, and it’s elementary to prototype things quickly.
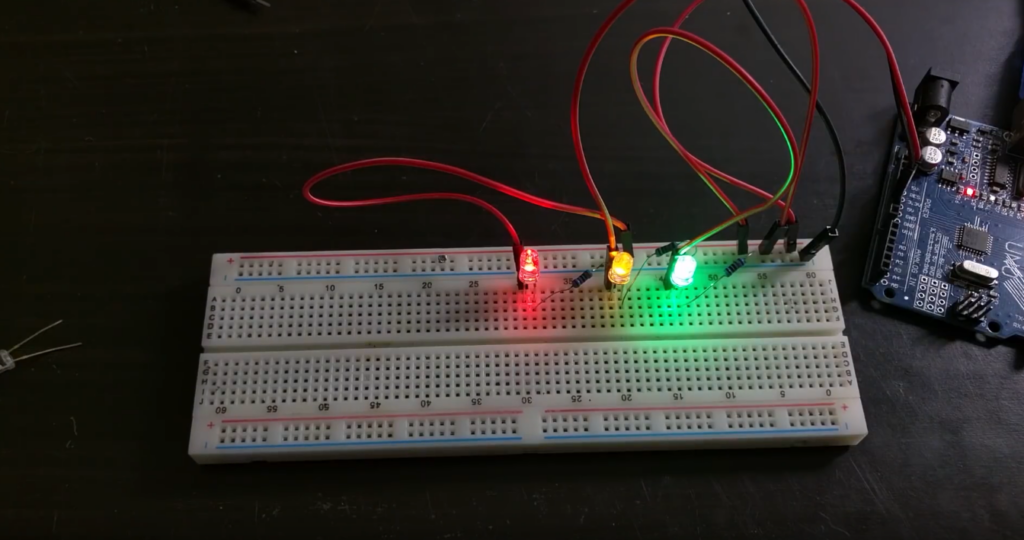
[tds_info]One of the features of the breadboard that you’ll see is that down the middle there is a channel and this channel is a specific size and for a specific reason. The reason that it’s there is that many integrated circuits, or chips, comply to a standard called Jewel inline packages.So for example, L293D motor IC, this is designed for driving motors in a circuit, it fits perfectly over that little channel.[/tds_info]So for an example of how a breadboard would be used, look at a simple LED circuit with an Arduino. You can see there are two LEDs. One of them stays on all the time, and that’s because it is being powered from the power rails of the breadboard and those power rails are connected to the five volt and ground pins of the Arduino.
You’ll see that the other LED is blinking and that’s because it’s been connected to one of the output pins of the Arduino, which is running the standard Blink sketch, modified to output on one of the pins instead of the internal LED.
You’ll also notice that the power rails running along the bottom side also work and that is because at the end of the breadboard you have jumped the positive to the positive line, and the negative to the negative line and this is just a general good practice that it’s worth doing because it means that your components will always have power, no matter where they are on the board.
If you’re wondering why this plastic device that you have that helps you make circuits are called a breadboard, it harks back to the history of DIY electronics when people also wanted to prototype quick circuits, but they didn’t want to have to get a soldering iron out or anything like that.
What they would do is they get an actual breadboard from their kitchen, and they would use that, with their components along with some screws or some nails or some thumbtacks, to make quick circuits just to test things out or learn about electronics.

I have not purchased a breadboard before, so thanks for sharing this review and buying guide. I have a friend who mentioned they were in the market for a new one, so I will be sure to send this to them. They certainly sound useful for prototyping circuits and such.
Hello, Rob! Thanks for the comment.
Breadboards are amazing. They’re a great way to test electrical currents and to have multiple powers going at once. I personally have only ever used them for LED’s; although, I’m sure there are a bunch more ways to use them.
I am a Software Engineer (Bachelor Degree and years in the profession) an 2 colleges each never explained how to use a breadboard and just assumed we knew how they worked. Thanks for the basics. I am tired of hardware being a weakness of mine in personal electronic setups.
Hello, Jack! Thanks for the comment.