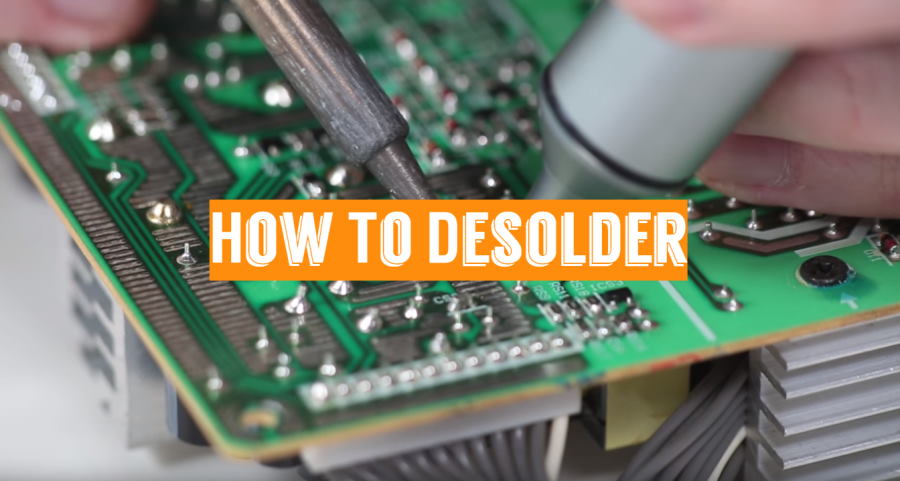
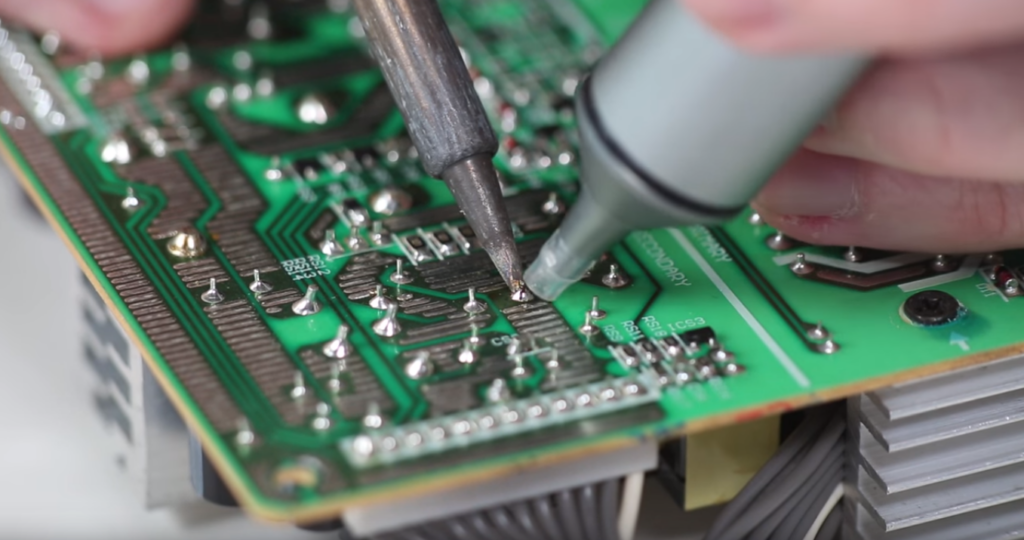
Desoldering through-hole parts is a relatively straightforward process. Desoldering surface-mount component is a bit trickier. A solder sucker won’t be able to remove the unexposed solder between the pad and the flat surface-mount lead.
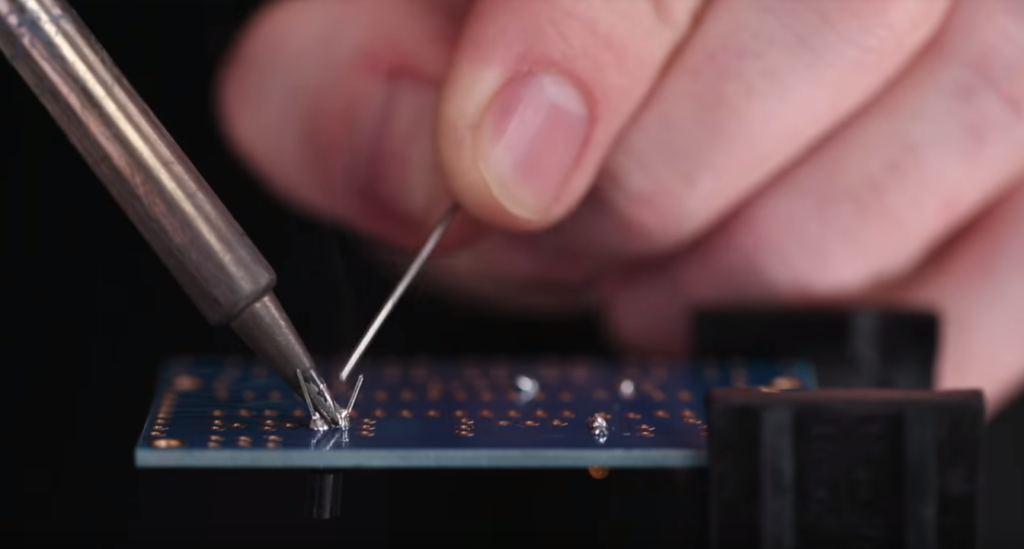
Wouldn’t it be nice if you could heat each pad and then have them remain molten long enough to slide the part off the board? Well, you can use this. Chip Quik is a special type of solder alloy that remains molten far longer than standard solder. To use it, first apply flux to the pads and component leads. Then heat and add the alloy just like regular solder. Reheat the pins as necessary to have them all molten simultaneously, and remove the chip. Then use a solder sucker or wick to remove the excess, and finally, get the pads nice and clean with a bit of isopropyl alcohol.
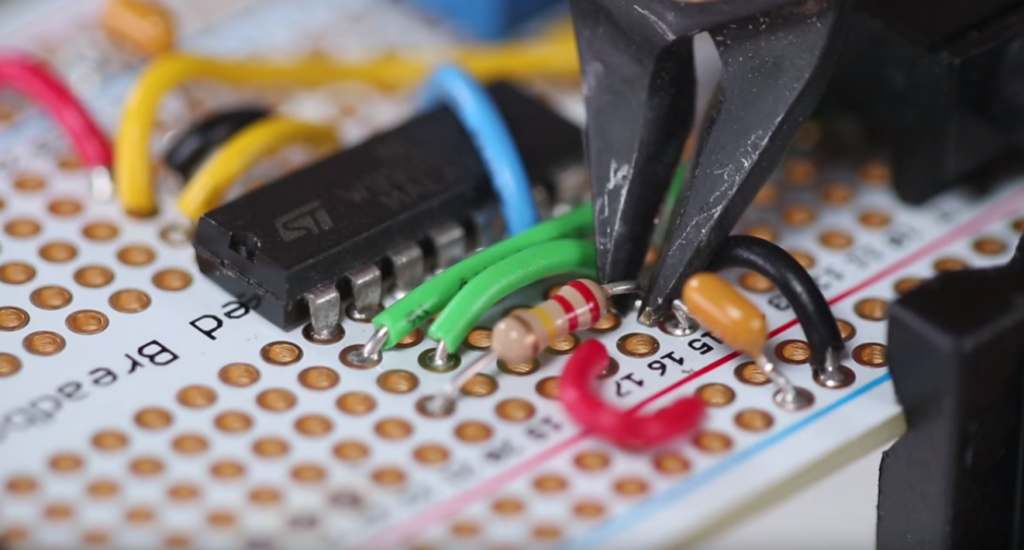
Here’s a couple of bonus tips. Removing header pins is much easier if you pry off the plastic connector piece first. Then you can move each pin, one at a time, and if you don’t care about keeping a part intact, just go ahead and cut the leads before desoldering.
See, desoldering can be a simple process as long as you have a bit of patience and a solder sucker, maybe a little bit of solder wick and Chip Quik, but after that, no sweat.
How to Desolder FAQ
How should you desolder without a pump?
The basic principle of desoldering is quite straightforward: you have to heat the solder, work out how to bring the part or wires off nicely, and then clean up any solder that stays attached to the circuit board or panel.
If all you can use is a simple soldering iron without desoldering pump, then you should desolder in such a way:
- Use the iron to heat the solder;
- To remove most of the solder from the joint slide the iron up the pins (if you desolder from a circuit board);
- Use pliers to gently pull the components. You need to remove their pins from the holes. And you need to do this fast while they are still hot;
Tips for users: to remove the copper plating from your PCB, use the top of the iron.
How should you desolder with a pump?
If you have a desoldering pump (also called a solder sucker), the process gets easier. Here is how you can separate the components from a circuit board using a desoldering pump:
- Locate the component you want to remove. Some specific spots and terminals hold the component. Make sure you are going to desolder the exact pins of a certain component if you plan to keep the rest of PCB intact;
- Clean the terminals with isopropyl alcohol and an old toothbrush.
- A heat sink has to be attached to dissipate some of the iron’s heat. It is a metal alligator clip that has to be placed between the terminal and the component;
- Let the iron heat up for 3 minutes. Use a moist sponge to clean the iron from its base to tip;
- Push it down on the solder sucker. Press the pump’s end until it clicks;
- Use the iron’s tip to heat the old solder. The solder should melt. Push the terminal with the tip to loosen the component while the solder is melting;
- Use a desoldering pump without pressing. Release its spring to create a vacuum that pulls the liquid solder inside. Keep in mind that the pump’s tip may melt in the process. Also, the liquid solder tends to cool and harden very quickly. Hold the iron in one hand and the pump in the other to do the job quickly;
- Push the pump down over a trash bin to get off the solder. Do not leave the solder inside the pump;
- If you experience difficulties, try to add flux to increase the flow of the melted solder;
- Clean the PCB with a resin cleaner or a small, flat-head screwdriver;
The only drawback of this method is that the pumps usually have small tips. That’s why it can be hard to reach tight spaces.
What are the ways to desolder a chip from a circuit board?
There are a host of approaches that all come down to desoldering the PCB components you choose to get rid of. Some of them were exposed earlier in this guide.
In certain cases, whether the component’s leads are uncovered, such as for through-hole or wider surface-mount sets, it may be soldered with a regular soldering iron or a hot-air method that can reach all of the leads at once.
If you don’t worry if the part you’re extracting is salvageable, it’s best for the board to cut the component off its legs with a flush knife, then desolder to extract the legs separately, since it may be tough to get all legs warm enough at once to remove them all without destroying the frame. It is suggested that you use a ton of flux.
How to Desolder a QFN IC
Hot air desoldering that can hit all of the leads with ample heat is the most possible solution for ball-grid array chips or QFNs with leads underneath the package.
In these cases a hot air station is the only way to desolder these types of parts.
See this video about how to desolder a 0.5 mm pitch QFN part.
[embedyt]https://www.youtube.com/watch?v=qEQHDfQD9b8[/embedyt]A decent small-tipped iron and a solder “sucker” are necessary supplies. Some people use a tubular desoldering braid, which may be beneficial.
The process entails melting solder with the iron, soaking up excess solder on a pad with the desoldering braid, and then swallowing up the residual solder with the pump until the part nearly falls out.
This approach is best for repairing defective chips or other pieces, but not for surface-mount modules.
How to get rid of solder without soldering iron?
A soldering iron can help to extract solder from a part of piping or electronic circuitry far simpler, but it’s far from being an essential tool for this job. Here is what you should do to remove solder without soldering iron:
- Use a propane torch to heat a flat-head screwdriver until it turns red;
- Apply the hot screwdriver to the solder you need to remove. Do it on a flat surface to prevent the running solder after it melts. Gently touch the highest point of the solder (a.k.a. the “bubble”) with the screwdriver’s tip;
- Use a cold flat-head screwdriver to remove the melted solder. The solder should stick to the cold instrument. Then you can remove it. Do not try to chip the melting solder with a screwdriver because it cools down very quickly;
- Heat the cold tool with the solder on it with the torch. Remove the solder while it is liquid. Use a rag for this, be careful;
How should you use desoldering wire?
Desoldering wire (also known as a braid or a solder wick) is applied to clear solder from an elemental component or patterns on a printed circuit board (PCB) after surface-mounted devices like BGA (ball grid array) have been removed.
This method of desoldering was used to basically suck up excess solder. It falls in a coil of wire wires that have been braided together. Since copper absorbs heat well and solder is drawn to heat, you may pull solder away from your component and into the braid by heating it.
Flux is used in some desoldering braid, allowing it much simpler and safer to cut a portion. If your braid doesn’t come with flux, you can produce your own by dipping the portion of the braid you’ll be using into the flux.
You should use it in such a way:
- Unwind a few inches of wick from the spool;
- Add some flux to these few inches if your wick doesn’t have any flux at all;
- Put the wick over the fitting/joint;
- Place a hot soldering gun/iron against the wire and pin;
- Wait a few moments. The solder should flow off the pin and go onto the wick;
- Remove the wire. At this point the braid can be rather hot, do not touch it;
- Remove the component you’ve just desoldered
- To get rid of excess solder repeat the previous steps;
Tips for users: needle-nose pliers will help to position and secure the wick without the risk of getting burnt.
A desoldering wick/braid/wire is easy to use, it is also cheap and available in many sizes. It is a good choice if you need to remove solder from any flat surface. However, it is not reusable, you should get a new, clean segment of a wick spool each time you need it. Also, it is not recommended if you want to remove solder out of pinholes.
How can you remove solder without wick or flux?
According to some expert recommendations and user feedback on Reddit, it is better to use a 12-Watt soldering iron with a pointy tip. Attach a solder sucker/pump with some silicone tube on the tip.
Remove the solder by heating it with the iron. While the device is on, push the tip with the silicone tube over the object and iron. Fire it. This will help to remove even the smallest bits of solder. Use a low-power iron to prevent taking the pad off the board. No wick or flux is required.
How to desolder a copper pipe?
The most effective method of desoldering a rusty copper pipe results in fixing the leaking piece and using it again. You should prepare such tools and materials:
- Hot air gun or butane torch;
- Mallet/hammer;
- Locking pliers;
- Heat;
- Wet rag;
In addition, you will need a lot of space to work safely. Here is how you can desolder that nasty copper pipe of yours:
- Drain water out of the copper pipe. Shut the main water valve – always do this before desoldering any kind of pipes;
- Use a wet rag to wrap one side of the fitting/joint that you are going to desolder. This prevents the accidental melting of the other pipe’s end;
- Turn a hot air gun on. Point it at an angle towards the fitting/joint. Try not to move the gun, hold it steadily;
- When the joint starts to melt, use the pliers to lock the pipe;
- Take a mallet and hammer the pliers until detaching the pipe;
- Use a wet rag once more to wipe the end of the pipe. In such a way, you will remove the solder. Do the same inside the fitting or joint;
- Let the pipe dry;
Alternatively, you may use a propane torch, igniter and pliers (or pipe cutter) to desolder a rusty copper pipe. Make sure to have the full and working fire extinguisher nearby. Always wear protective goggles and a shield. Here is what you should do:
- Heat the joint or fitting for a few seconds (up to 1 minute);
- Keep the heat above the joint if you need to remove it. Or keep it below the pipe if you need to remove the pipe;
- Watch carefully – keep the flame for additional 30 seconds after the device starts to melt the pipe or joint;
- Use the pliers to secure the pipe. Do not squeeze too hard because you may damage the softened pipe by accident;
- Gently twist the pipe itself or the fitting to detach the required piece from the rest of the construction;
- Twist the piece or pipe until it fully comes apart in a back-and-forth motion;
That is the quickest way of desoldering a copper pipe.