The process of soldering stainless steel seems challenging, but don’t expect big difficulties. Alloys containing less than a quarter of chromium and nickel are easy to fuse. Moreover, these alloys can create strong bonds with other metal elements, excluding aluminum and magnesium.
Understanding the process and preparation
Remember that some nickel-plated alloys can form carbides when heated to a temperature of 500-700 degrees. Their release level depends on the soldering time, so the duration of the procedure must be reduced. The resulting carbides reduce the corrosion resistance of stainless steel significantly.
To minimize the formation of carbides, titanium is added or additional heat treatment is used upon completion of brazing. Under the influence of hot solder (tinol), the work-hardened stainless material can crack, therefore soldering occurs after annealing, without heavy loads in the process of brazing.
Choosing solder metal for stainless steel consider such characteristics: steel composition and soldering conditions. When you make products in corrosive conditions, solder them with silver tinol, containing a small percentage of nickel. Remember to use copper solders, chromium-nickel, or silver-manganese ones during oven brazing in dry conditions.
Borax is the most frequent flux, used for processing stainless steel. Apply it to the bond in the form of a powder or paste. When it melts, the rest of the metal heats up gradually to a bright red heat (850 degrees). When this temperature is reached, the solder is injected into the joint.
You can do the removal of the material adhered to the stainless surface at the end of the soldering by rinsing the soldered product in water, or by sandblasting. Hydrochloric acid or nitric acid, which can be used for cleaning, is undesirable at this stage, as it corrodes the base metal together with the solder.
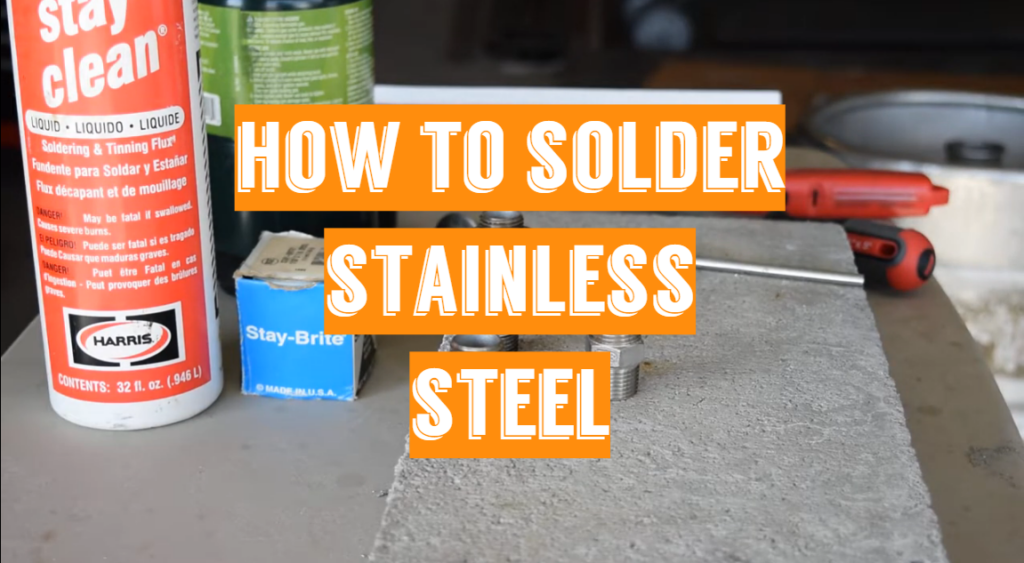
How to solder stainless steel in home conditions
It often happens that you have to do the work connected with the processing of stainless steel with your own hands. This task requires certain skills and knowledge. You must buy some materials and tools: soldering acid, electric iron for soldering (at least 100 Watts), tin solder to join metals, a rasp or sandpaper, a tube, and a wire rope.
To process stainless steel first prepare flux and a 100-Watt electric iron for soldering. It makes no sense to choose a more powerful soldering iron. Common soldering acid will server as a flux. Always have tin-lead solder at hand.
Clean the area of junction. This can be done with sandpaper or a rasp. After finishing the cleaning of the working areas, it is necessary to apply soldering acid and process. If the processing does not work (the solder does not stick to the targeted surface), then you have to treat the heated surface with the soldering acid and perform the processing again.
In the case when the solder doesn’t stick after the second attempt, clean the working surface of the stainless steel with a special brush. You can make it on your own. For that, take a piece of pipe with a cross-section of 5 mm. Then place thin wires pulled from a wire rope there to form a brush.
Apply acid to the soldering area, bring a brush and a soldering iron there at the same time. Start working with two tools simultaneously. Don’t forget that this process can help to remove the oxide film from the stainless steel. Once this step is done, you can move further and solder the steel with the flux and the iron.
Soldering with a gas torch
Heat the parts with a gas torch or tin-plated tip of the soldering iron. When working with the burner, it is necessary to ensure that there is not much oxygen in the flame, because this causes the stainless steel to oxidize. You can determine this by the color of the fire (it should be blue). If the color is pale or weak this indicates an excess of oxygen.
Move the burner smoothly to warm up the connection. You can determine the quality of the reached temperature if you touch the metal with solder periodically. Heating is sufficient when the solder melts not from the flame of the burner, but from touching the metal.
Apply the solder immediately to the part where the joint must be made. Continue to heat the parts so that the solder, melting, will fill in the joint slowly. In the case when there is not enough liquid solder in a certain area, heat it more strongly than other places. The solder will flow into it. Note, that a clear sign of high-quality brazing is the leakage of excess solder from the joint.
Working with hard solders
Stainless steel brazing is excellent with a flowable, liquid, fluxed solder with a low melting point and high capillary characteristics. This solder is quite flexible and has excellent deoxidizing properties, which are very useful when you work with stainless steel.
You can also handle brass, copper, and some other materials with it. Brazing with such hard solders works very well for stainless steel as long as it does not contain cadmium, and the percentage of silver is 30%. Processing the material with hard solders gives good results, making it possible to obtain durable and high-quality fastening of metals.
The HTS528 solder can handle copper, brass, nickel, stainless steel or bronze, and other metals. Along with the rest of the brazing alloys, this tinol is in huge demand. The solder looks like a bar treated with red flux. The size of the bar is about 45 cm, and the weight is 20 g. Its melting point is 760 degrees.
How to choose a flux for soldering
Small elements are soldered with adjustable gas-air burners (this method is more adapted for jewelry). The larger parts are best soldered with acetylene. The same is applied when choosing a flux for stainless steel since this metal is very picky about the flux. The flux for stainless steel consists of 10% calcium fluoride, 20% boric acid, 70% borax.
For small parts made of stainless steel, you can prepare a flux composition that includes 50/50% boric acid and borax. Dilute this flux in water, and apply to the part. When it dries, the solder will adhere perfectly to the metal surface.
The soldering area is not etched but only cleaned with sandpaper. Copper does not spread well over the steel surface, so it is better to use L 63 brass. For better soldering, you can also use silver and brass, and make a solder from these components.
Practical tips
- It is best to choose a soldering iron with a non-combustible tip.
- An electric iron for soldering must have a power of 60-100 watts. The most optimal soldering iron is 100 watts. A less powerful iron will not be able to heat the metal.
- Phosphoric acid is the best as a flux.
- It is advisable to use tin-lead wires as a solder. Pure tin can also be used. Note that it is better to solder kitchenware with tin since pure tin does not contain lead in itself, which is harmful.
- You must use means of personal protection every time when you solder.
- Soldering must take place in a well-ventilated area.
Major mistakes during soldering
If you make a mistake during preparation, soldering or when you choose the material, it can not flow properly and hold the parts together. If the parts are not cleaned well enough or poorly heated before soldering it can lead to a problem as well. It’s common with large items. You must clean the tip of the soldering iron well after any session, and its tip must be sharpened from time to time if you make jewelry.
Refuse from soldering the stainless steel with pure lead or using rosin if you want to get a strong connection. If the solder is made of tin, it can be quite difficult to work with it due to its weak consistency. If the tin does not melt more than the state of warm playdough, then, most likely, it will not hold the connection. It will constantly break and crumble. The optimal state of the tin for fastening is liquid.
High-quality solder can only be scratched, but not separated from the stainless steel soldering area if you put it according to all the rules. Cool down the product for some time after thesoldering is finished not to spoil the connection in the future. When the joint has cooled down, clean it from the flux and solder that remains at the edges. Wash the item thoroughly with soap.
Related Video: How to solder stainless steel with soldering iron
Conclusion
Soldering the stainless steel elements is a complicated process for inexperienced home masters. Start with the choice of proper materials and tools and you will be halfway. Practice makes perfect. But if you keep in mind all the tips and follow the necessary steps to solder stainless steel you will get strong perfectly looking joints for years.
Stainless steel has a higher melting point than aluminum, which means that it can be heated more before it changes color. But stainless steel does not melt as quickly as aluminum, which means you have to heat for longer periods. That’s why I started to search stainless steel soldering flux, and I found that! White flux has an active temperature range of 1050-1600°F. It is helpful for brazing copper, brass, steel, stainless steel, and nickel alloys.
Hi, Sean! Thanks for your comment.